
One room. More possibilities.
AI real estate photo editing for listings
Virtual staging, declutter, renovation previews and twilight shots from the photos you already have. Compare before and after, then download with a disclosure line ready to paste.
Sign in to receive your 3 welcome credits. Results are AI-edited and should be disclosed in listings.
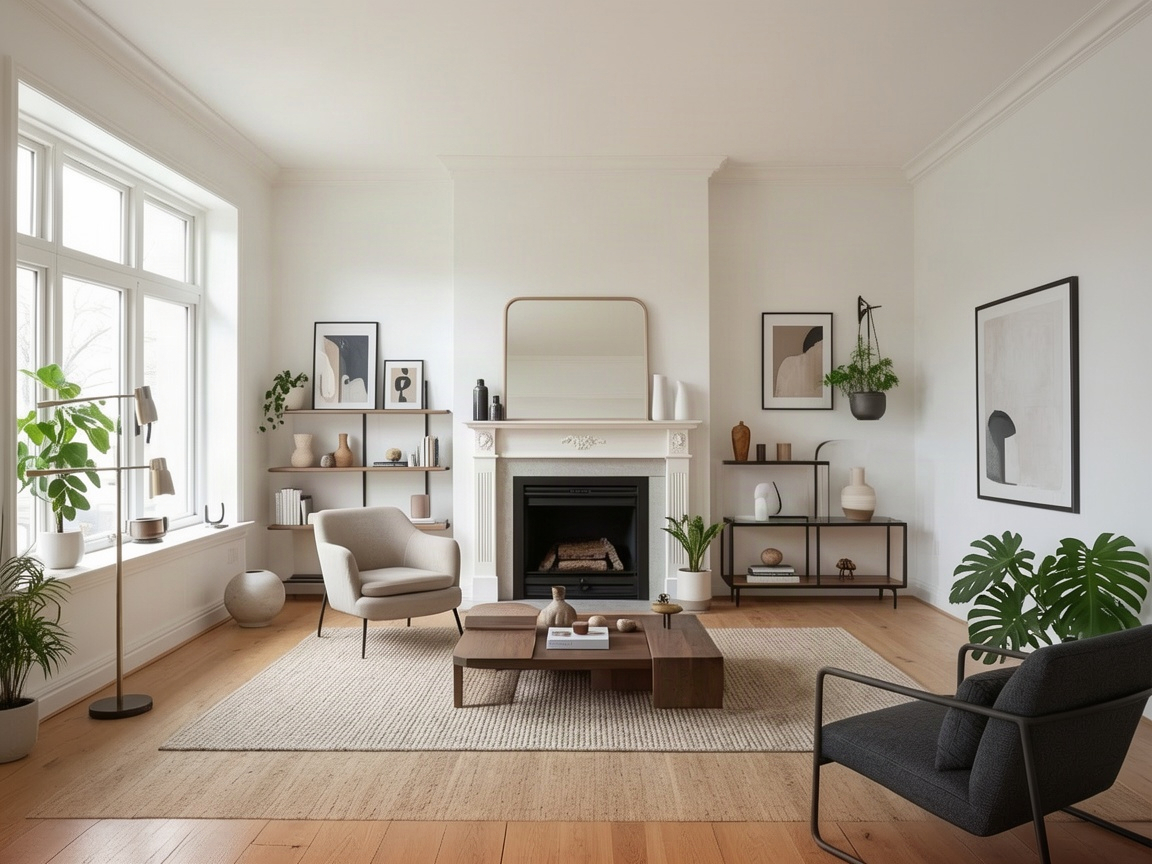
 BeforeVirtually staged
Demo: the empty room is an AI-generated image, staged with our tool.
Start with a space like yours.
Explore a demo, then make it your own. Each example opens the original photo with its settings ready. Browsing does not use credits.
Browse room design ideas
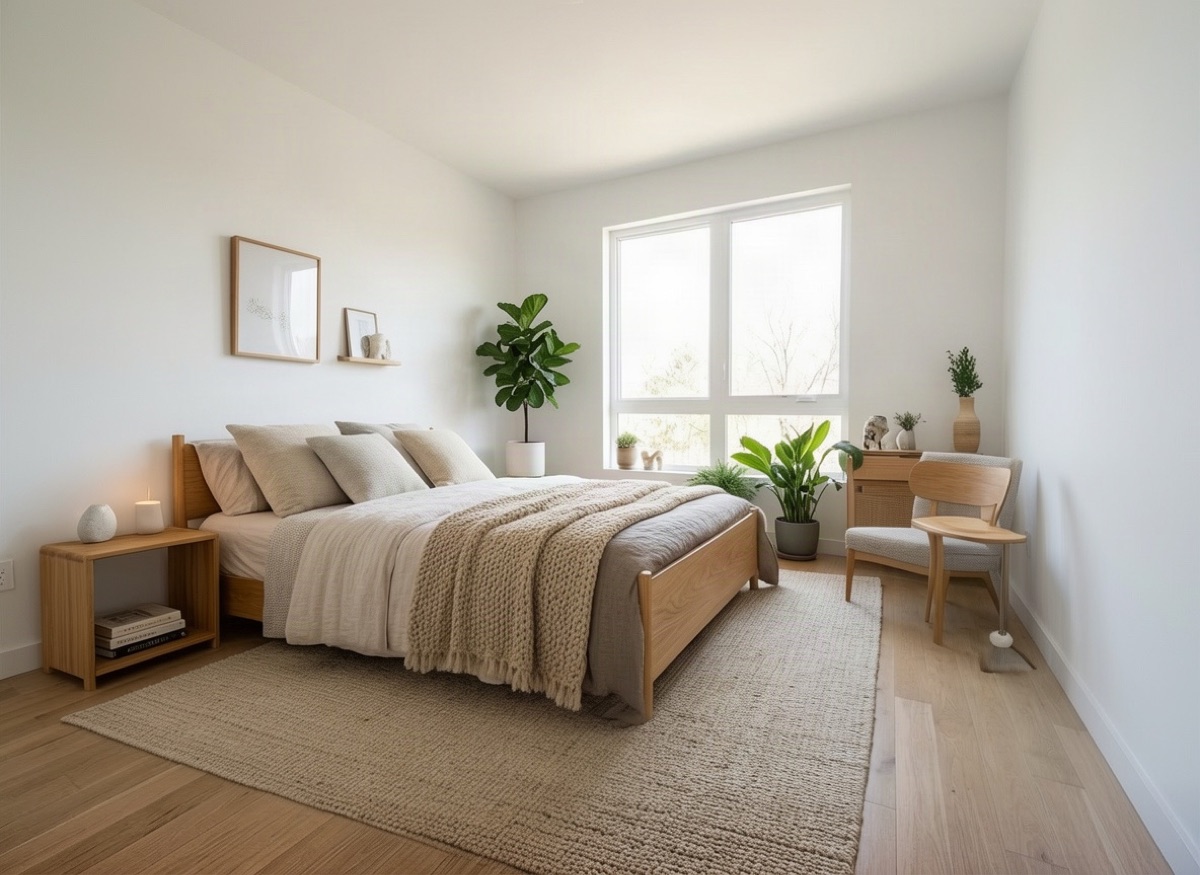
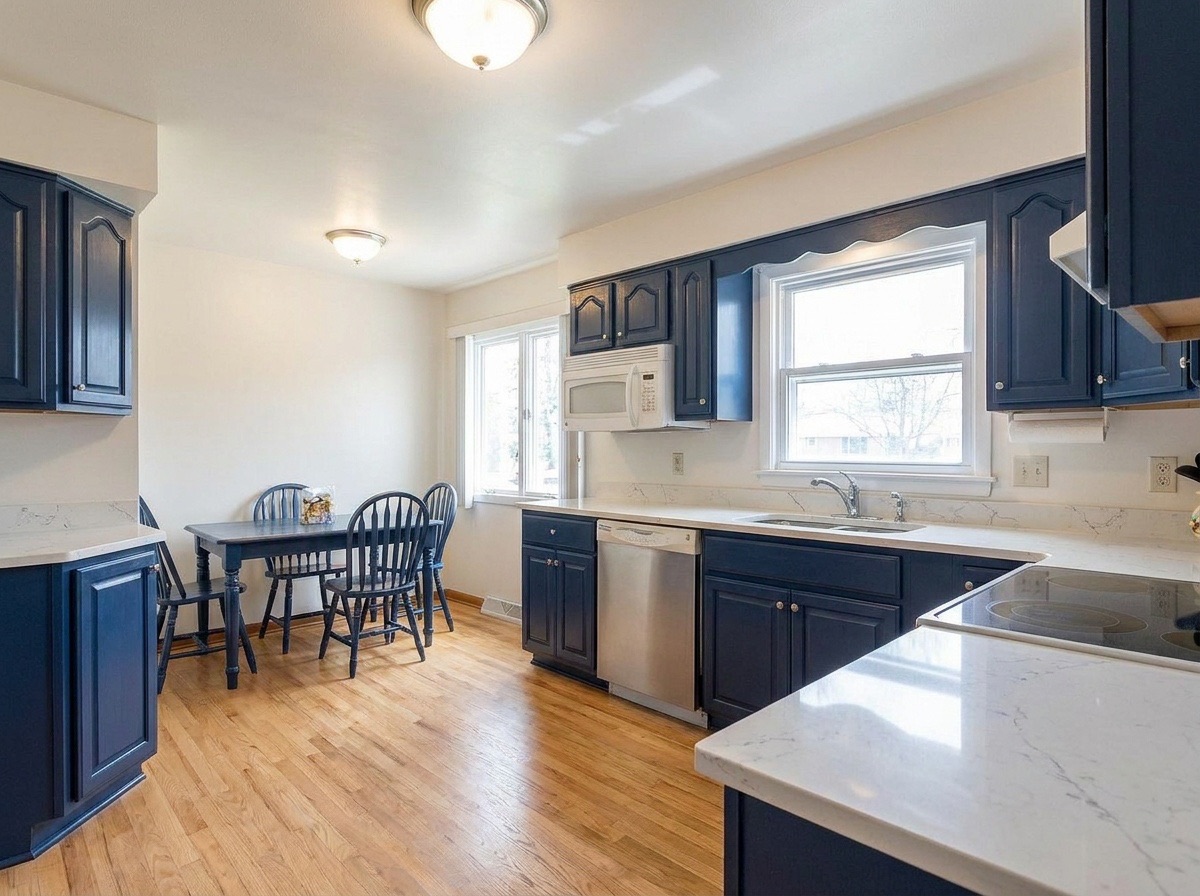
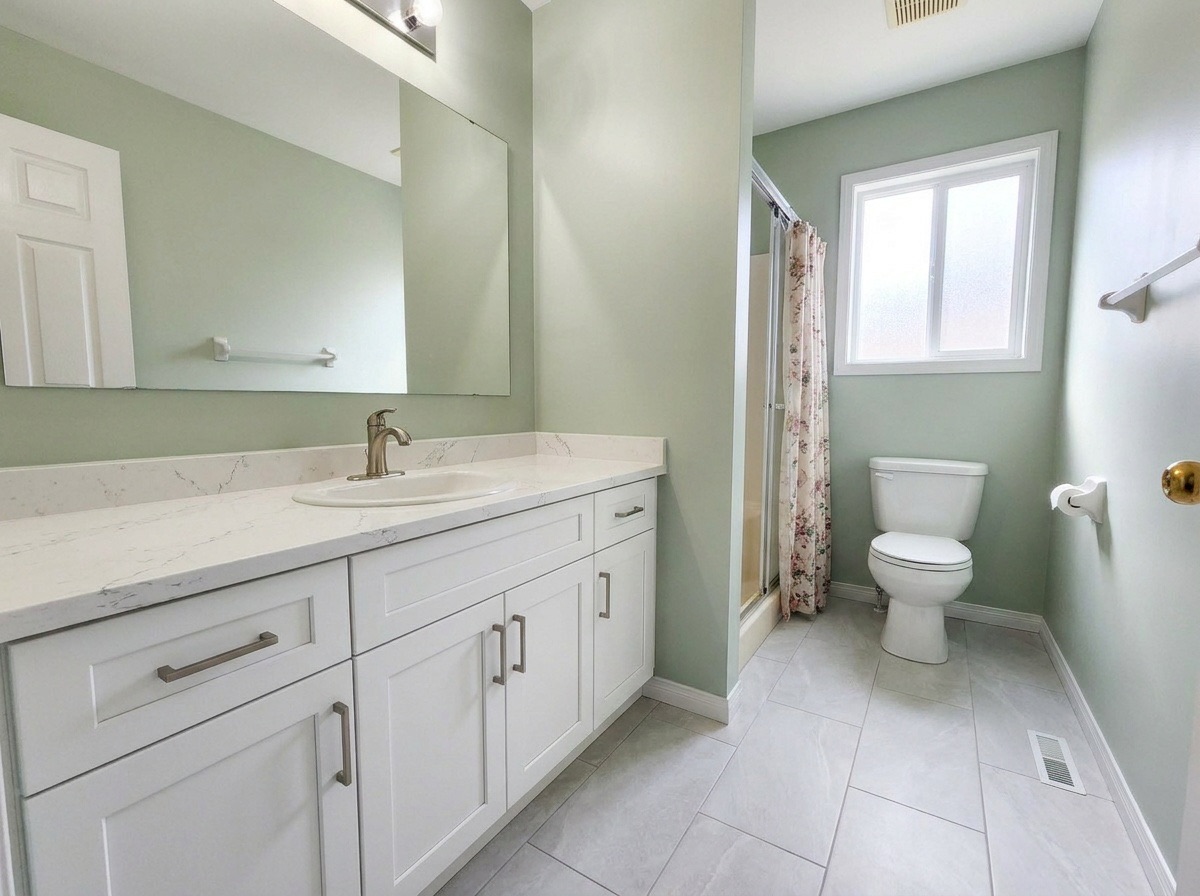
Real estate photo editing tools for your listing
All ToolsChoose a real estate photo editing tool based on what you want a buyer to see. In an empty room, use virtual staging to show where a sofa and dining table might fit. If the furniture is already there but the counters are crowded, start with decluttering. For a remodel proposal, preview wall and cabinet finishes and label the image as a proposed change. Use the before-and-after examples below to compare each edit with its source.
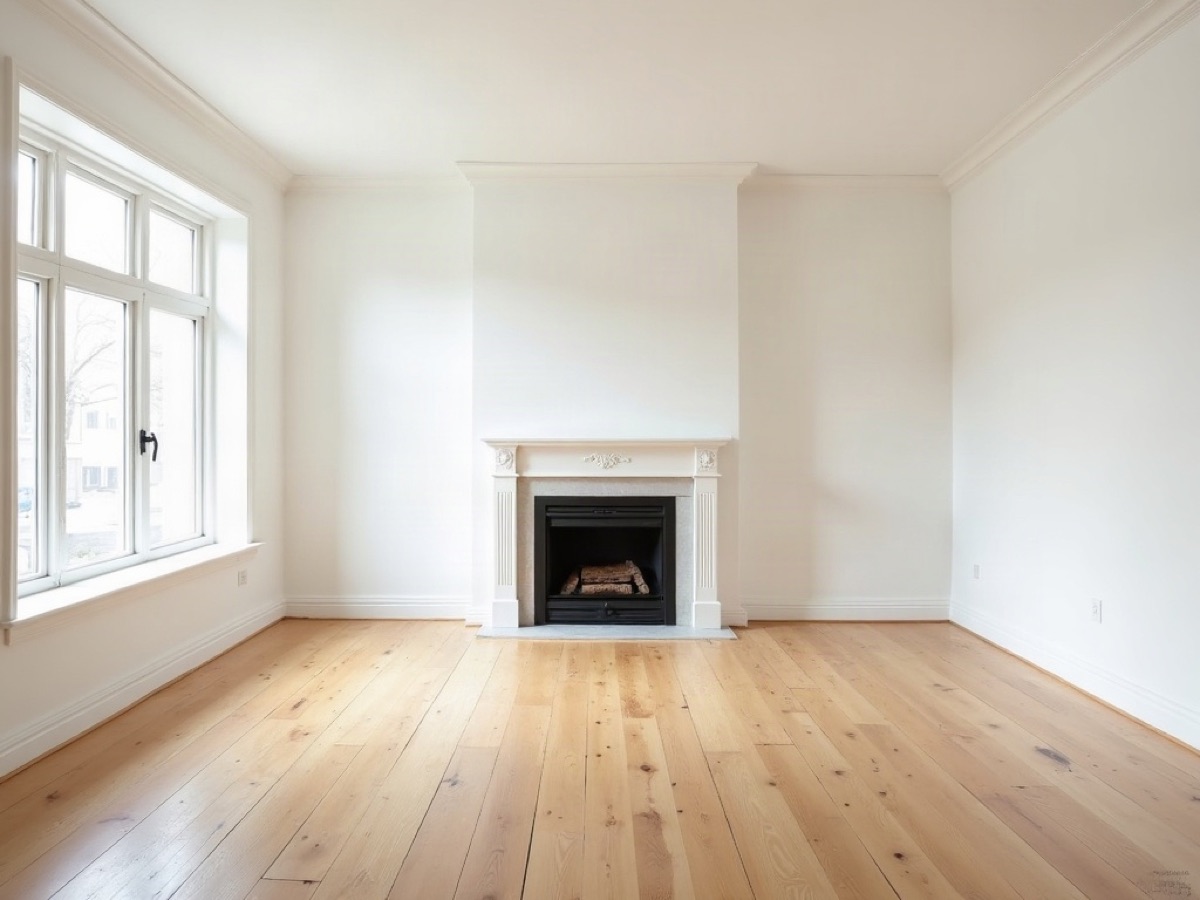
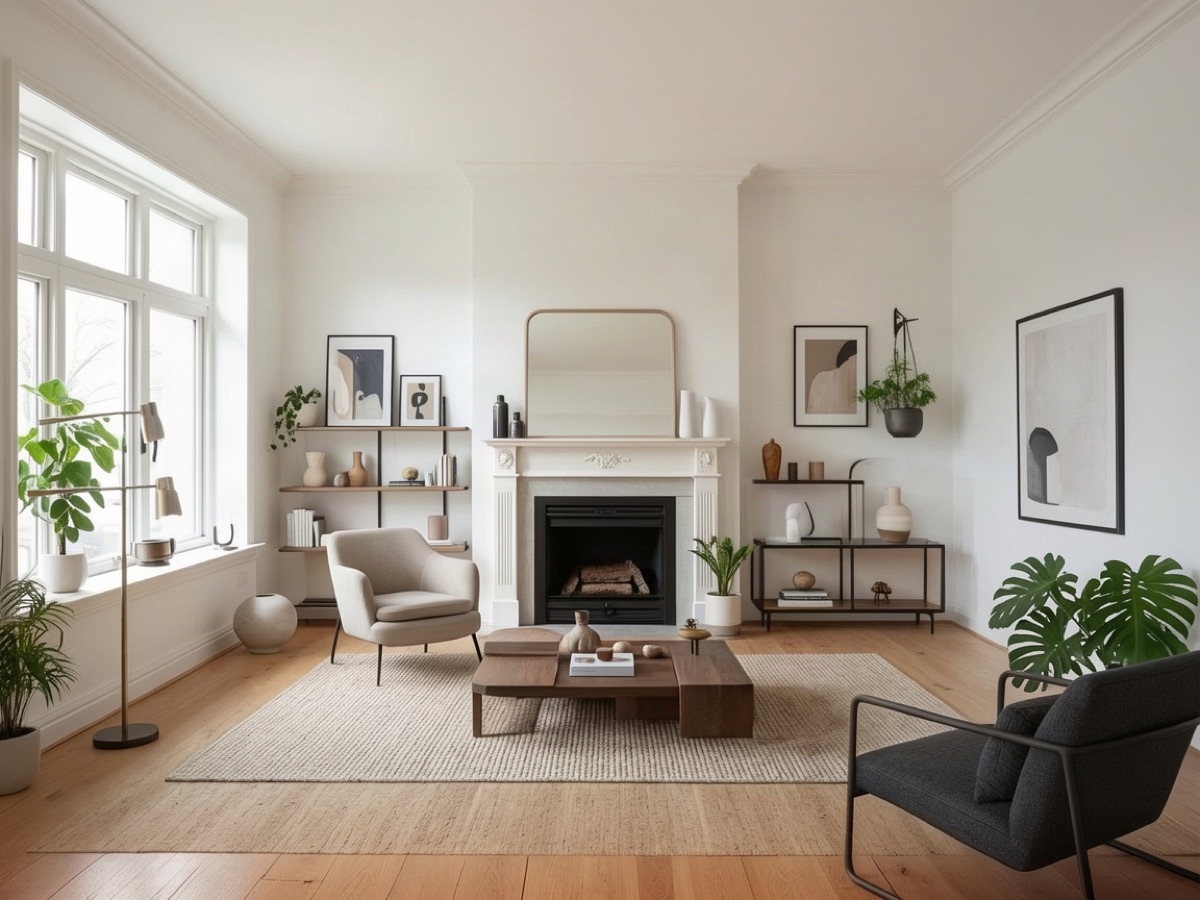
Virtual Staging
An empty living room can be hard to read when nothing in the frame gives it scale. Start with a view that shows the entrance, a window and the floor between them. Try a seating arrangement and check whether someone could walk around the sofa. Keep the vacant photo alongside the staged version so buyers can see exactly what comes with the home.

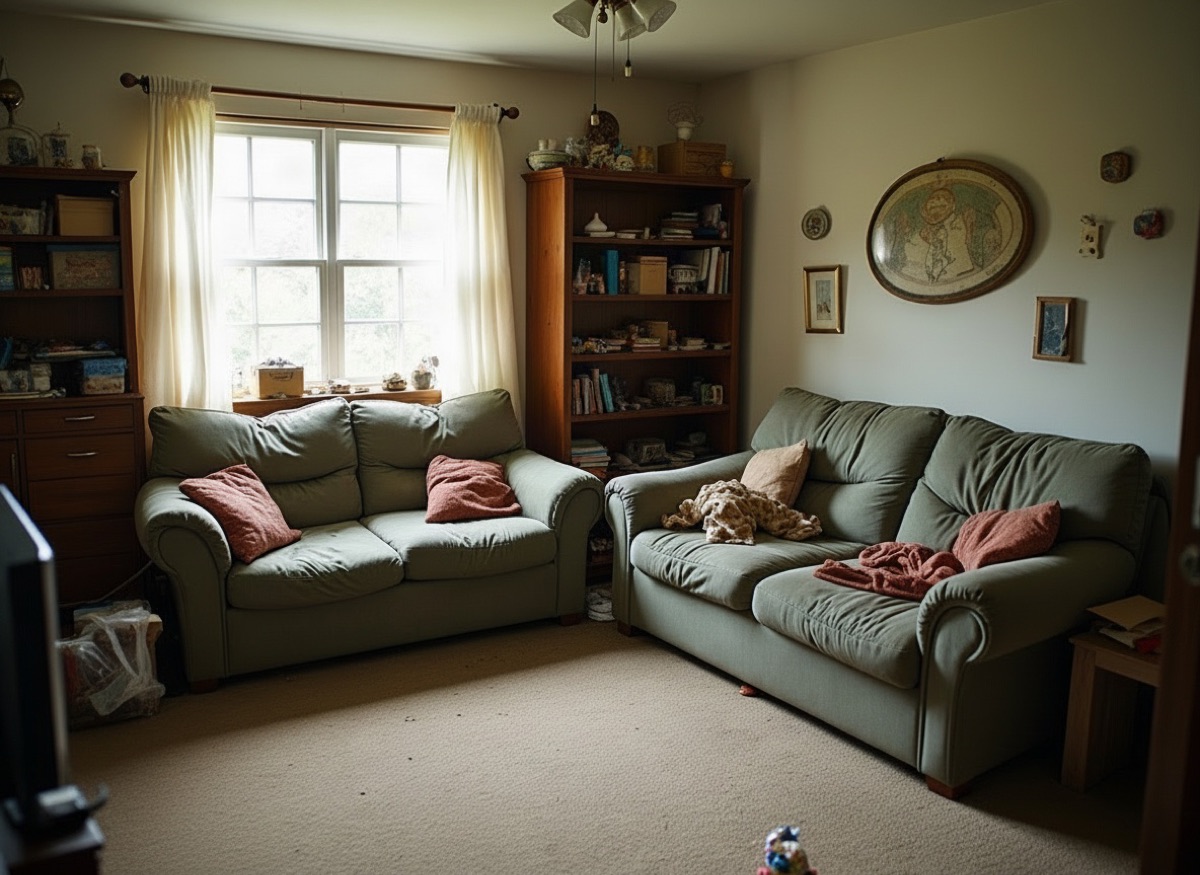
Declutter & Remove Furniture
Use this for the kitchen you photographed on moving day, when boxes covered the island but the cabinets and appliances were already in place. Decide which loose items you want cleared before you edit. Compare the newly visible surfaces with what you saw in person. If a box hid a damaged cabinet door, take a fresh photo with the box moved.
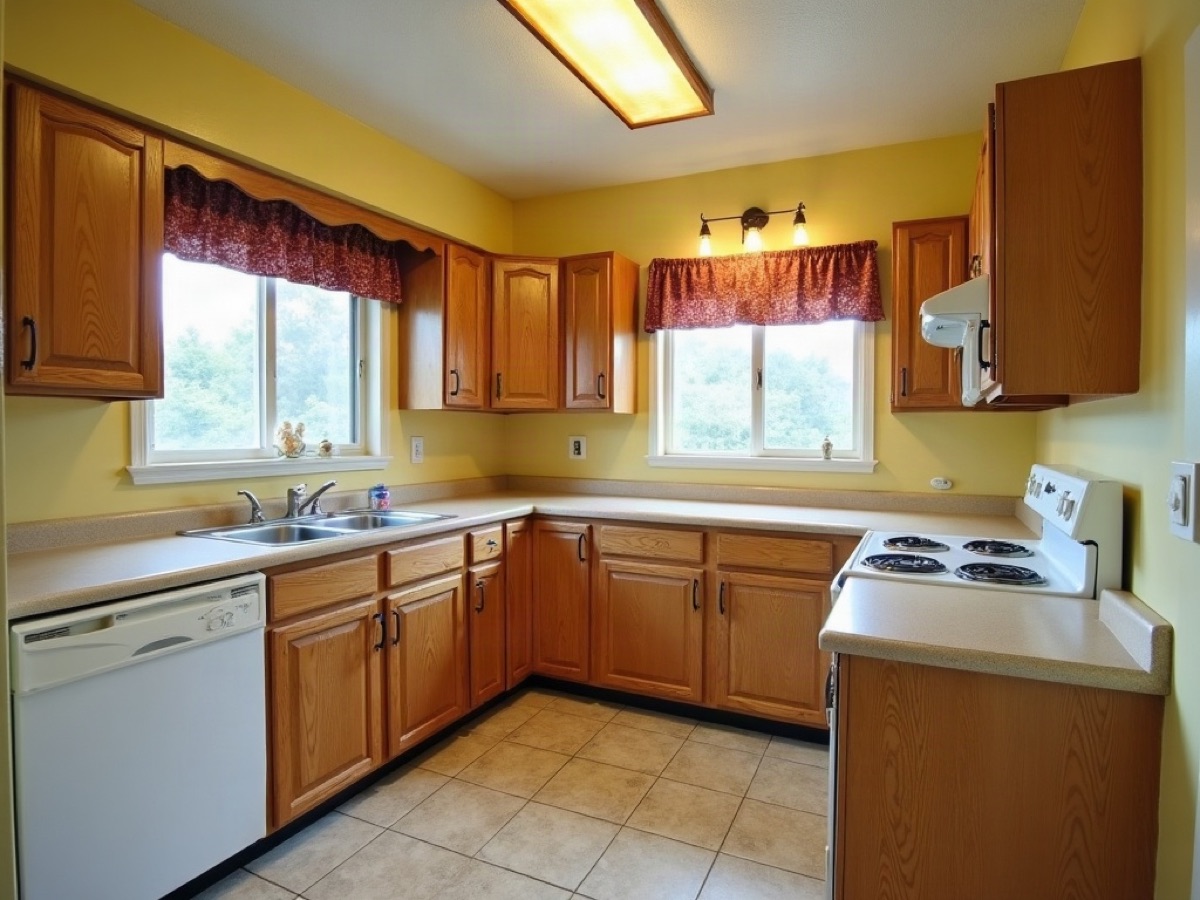
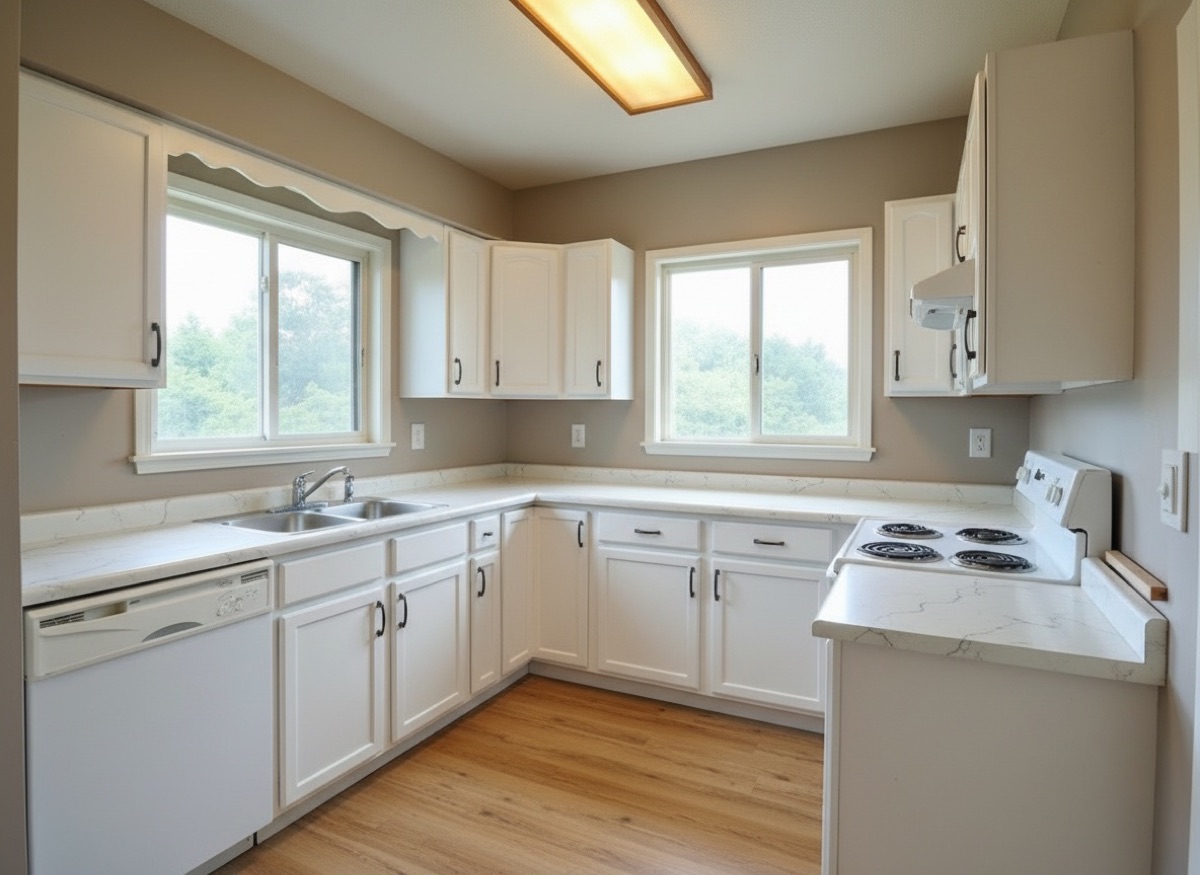
Renovation Preview
When two people disagree about a kitchen finish, start with the decision they actually need to make. Keep the floor and counter selections fixed and compare a painted cabinet with a wood finish on the same photo. Once you pick a direction, bring samples into the room and check them under the lights you use at dinner. Screen color alone is a poor guide to a paint order.
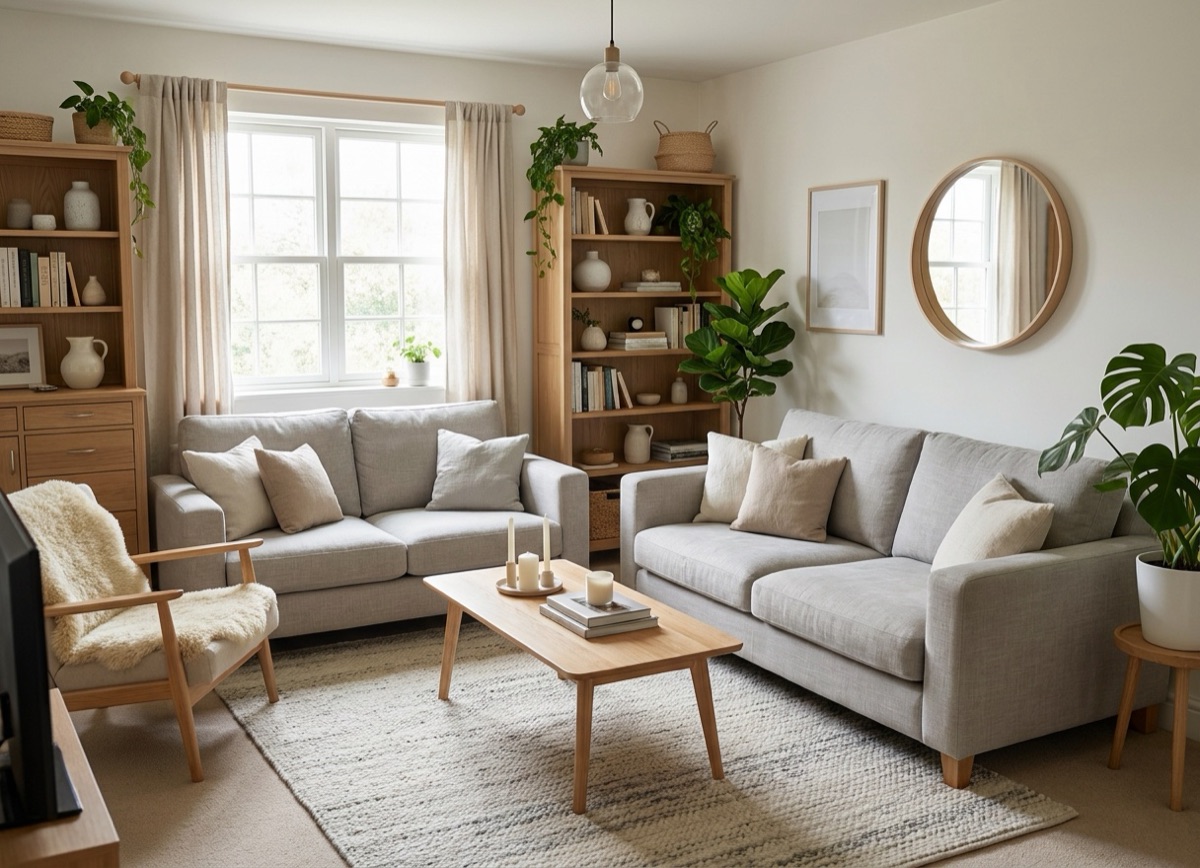
AI Room Redesign
Start with a bedroom or living room you already use, especially if you intend to keep a favorite piece. Choose a room style, then use the design note to describe the item you want to retain. Look back at the original door swing, radiator and window height. Even a convincing arrangement needs a tape measure before you order a bed frame or bookcase.
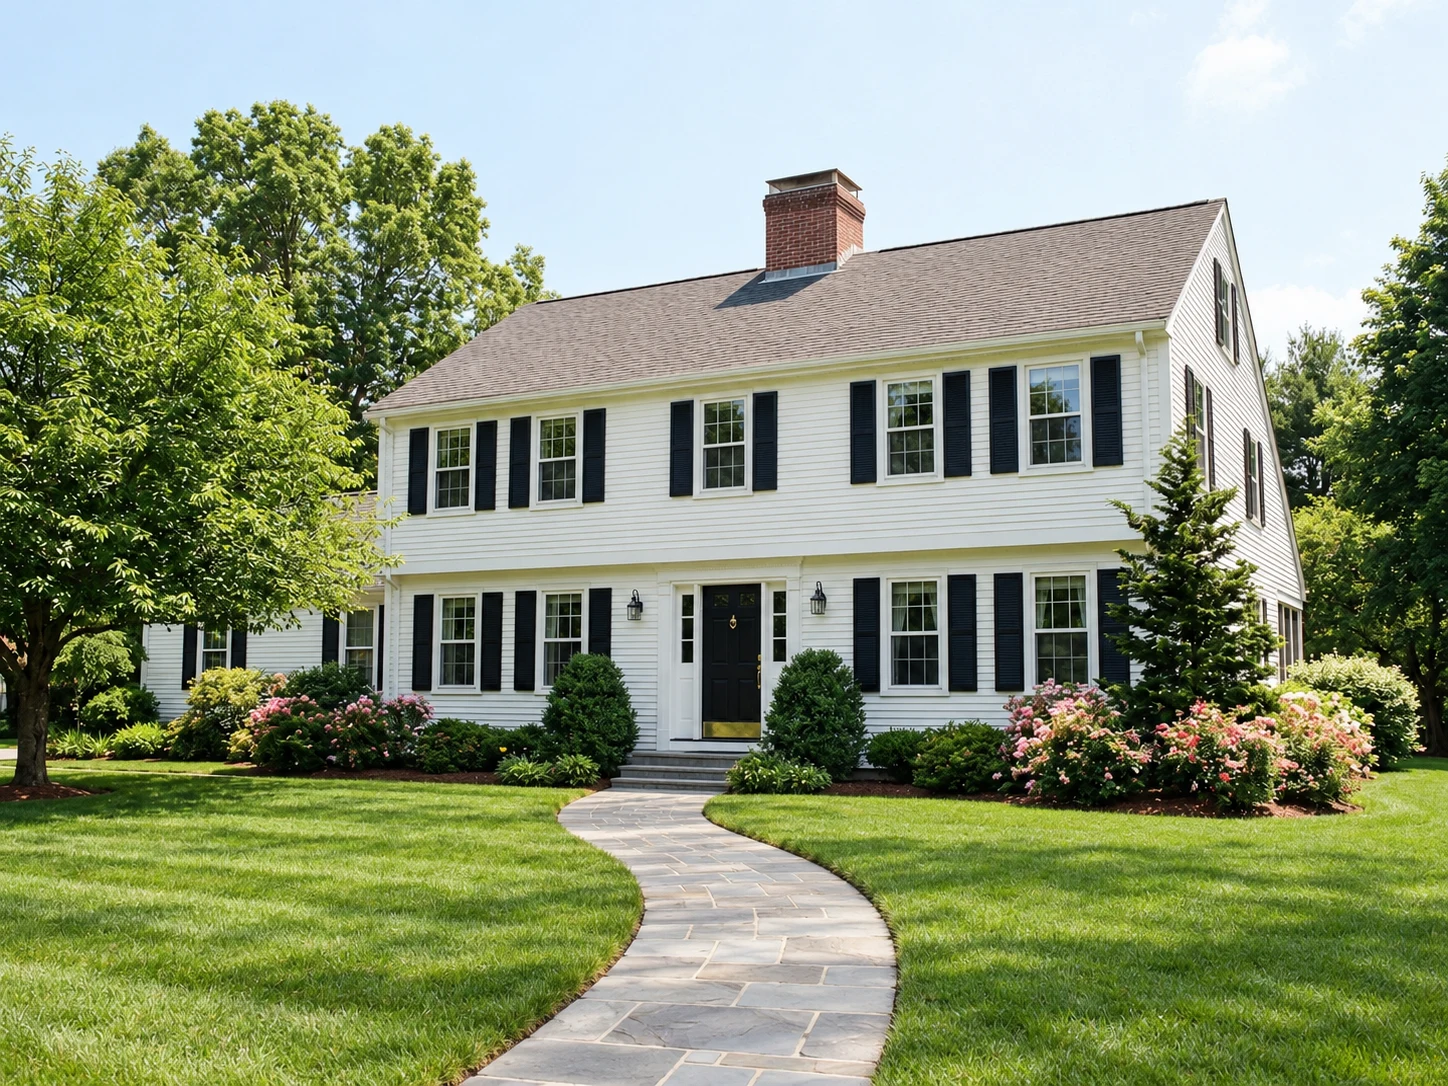

Day to Dusk
A daylight exterior with a clear roofline makes a good starting point for a twilight image. Look closely where tree branches cross the roof and where window light meets the siding. Count the windows and compare the view through the glass with the daytime original. Include that daylight view in the gallery so buyers can also judge the exterior finishes in natural light.
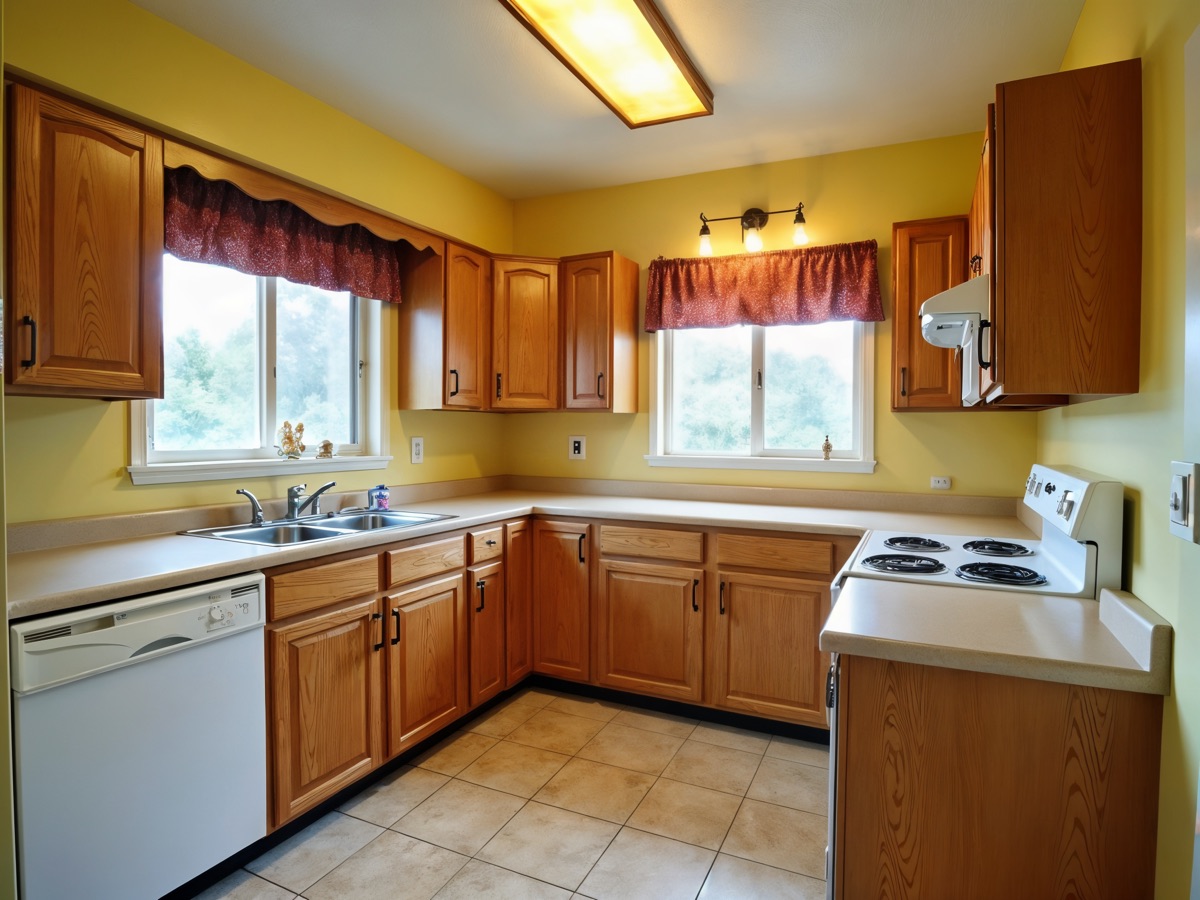
Photo Enhance & Upscale
Choose the original camera file if you have it. A photo saved from a listing screenshot may already have blurred grout lines, lettering or the grain of a wood floor. After enhancement, zoom in on one textured surface and one straight edge before judging the whole frame. If the detail looks invented, return to the higher quality source or photograph that feature again.
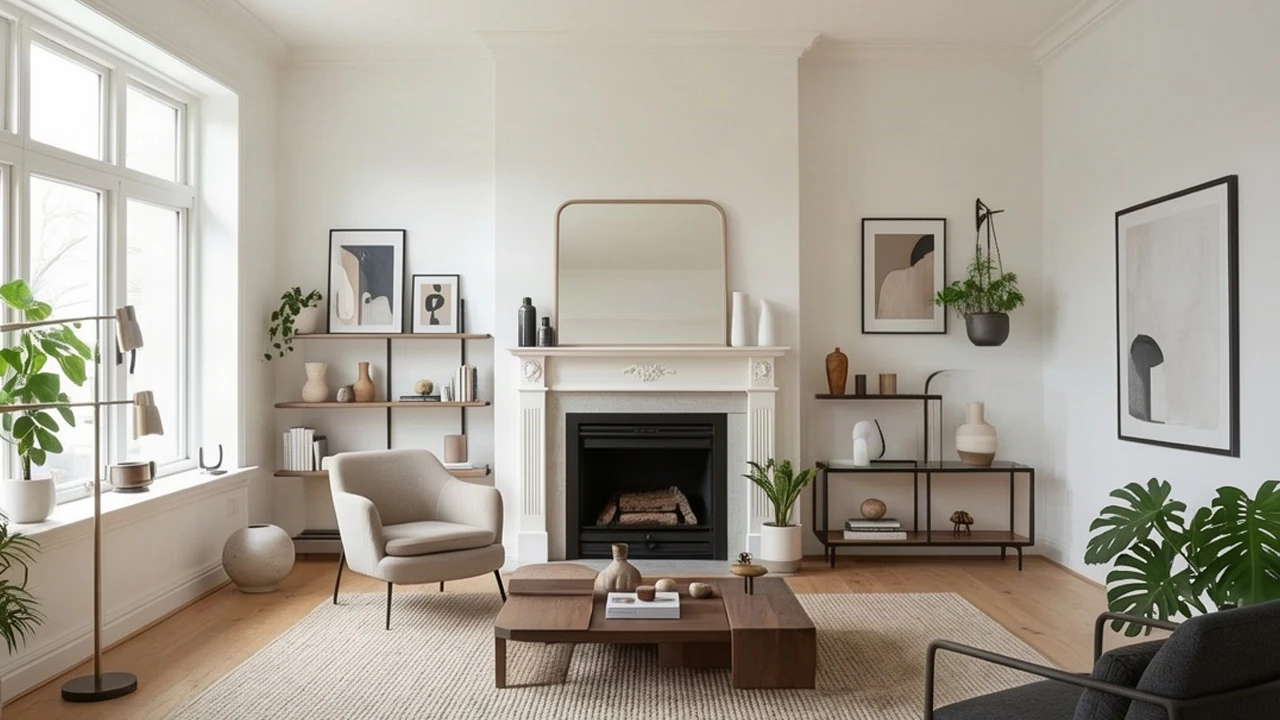
Photo to Video
For a listing teaser, choose one frame with a clear focal point, such as the view from the living room toward a fireplace. A gentle push-in draws attention to that feature. Watch the full five seconds for bending door frames or flicker in mirrors. If you want to show three rooms, generate a clip for each photo and join the clips in your own video editor.
How it works
1. Upload a photo
Before you start AI real estate photo editing, pick the angle you would want to see as a buyer standing in the doorway. Keep the camera level and leave both floor and ceiling in the frame. If most of the room is hidden behind an open door, move the door and retake the shot. Save the original so you can check the result later.
2. Pick a tool and style
Decide where the finished image will go. A buyer browsing a vacant listing may need furniture for scale. A homeowner weighing a remodel may want to compare two floors while keeping the cabinets. Open the tool for that decision and try its sample photo first. You can browse the examples and compare styles before spending credits on your own image.
3. Review, then download
Make a final pass at the size your audience will see. Slide over each doorway and window, then zoom in on details a buyer might rely on, such as the number of burners on a stove. Download the version that matches your purpose. Keep the disclosure beside the edited image when you move it from your project into the listing or social post.
Built for people who sell and fix homes
Agents & brokers
Make vacant listings feel like homes and get more clicks on the photos you already have.
Real estate photographers
Offer staging, twilight and cleanup as add-ons without more editing hours.
Homeowners & flippers
Preview paint, floors and cabinets on your own room before you buy materials.
Contractors & designers
Show clients a believable after photo when you pitch a remodel.
Honest about what AI can and cannot do
A useful test for AI real estate photo editing is to ask what someone might reasonably assume after seeing the result. Could a buyer think the freestanding shelves are built in? Could a proposed countertop look like a finished upgrade? Put the original next to the preview and name the change in the caption. For example, “Kitchen concept with light oak cabinets” tells a reader exactly which choice is still on the table.
Original always beside the result
Every result opens in a before/after slider so you can compare walls, windows and fixtures in seconds.
You review before it goes live
AI can change things it should not, like stairs, windows or room size. We tell you what to check for each tool.
Disclosure text included
Copy a ready-made line such as “Virtually staged” for the listing. Always confirm your local MLS and advertising rules.